
source: Wikipedia
By right, to create HDR, you need at least 3 different exposures of a same photo, but in this tutorial, I'll be showing you how to create HDR from a single image in just 5 easy steps!

Step 1
First of all, open any photo that you want to convert to HDR. I'll using one of my Butterfly Park Photoshoot photo.

Step 2
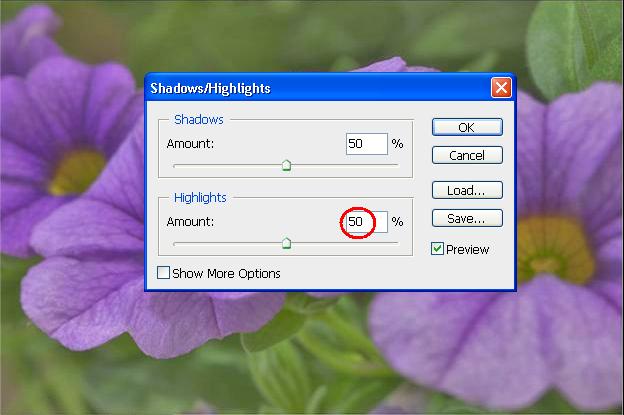
go to Image> Adjustments> Shadow/Highlights. Set the "Shadow" and "Highlights" amount to "50%"
Step 3
Duplicate a new layer and this will be name it.
so in here i named "backgroud copy"

Step 4
Go to Image>Adjustments>Desaturate or (Image>Adjustments>Black&White)

Step 5
After that change the layer blending to "Hard Light".

Final result

Sample


thanks for the tips
ReplyDeleteemm... nice flower...nice sky... nice effect...
ReplyDeleteGreat tips! I just tried it xD
ReplyDeleteohmy! the result is really incredible! :D
ReplyDeletei didn't know that it is so simple till u point this out! ;D
ReplyDeleteWow, its easy and nice !
ReplyDeletei duno where 2 dl photoshop software. =(
ReplyDeletewoh, i always wanted to learn this. thanks. gonna try it when i back home...
ReplyDeleteoh my, i loove this :)
ReplyDelete